Fact: Properly restored floors and furniture recover up to 90% of their original beauty and…
Uncover Hidden Leaks Behind Walls and Floors
Fact: Up to 40% of water damage begins with hidden leaks you can’t see without the right checks.
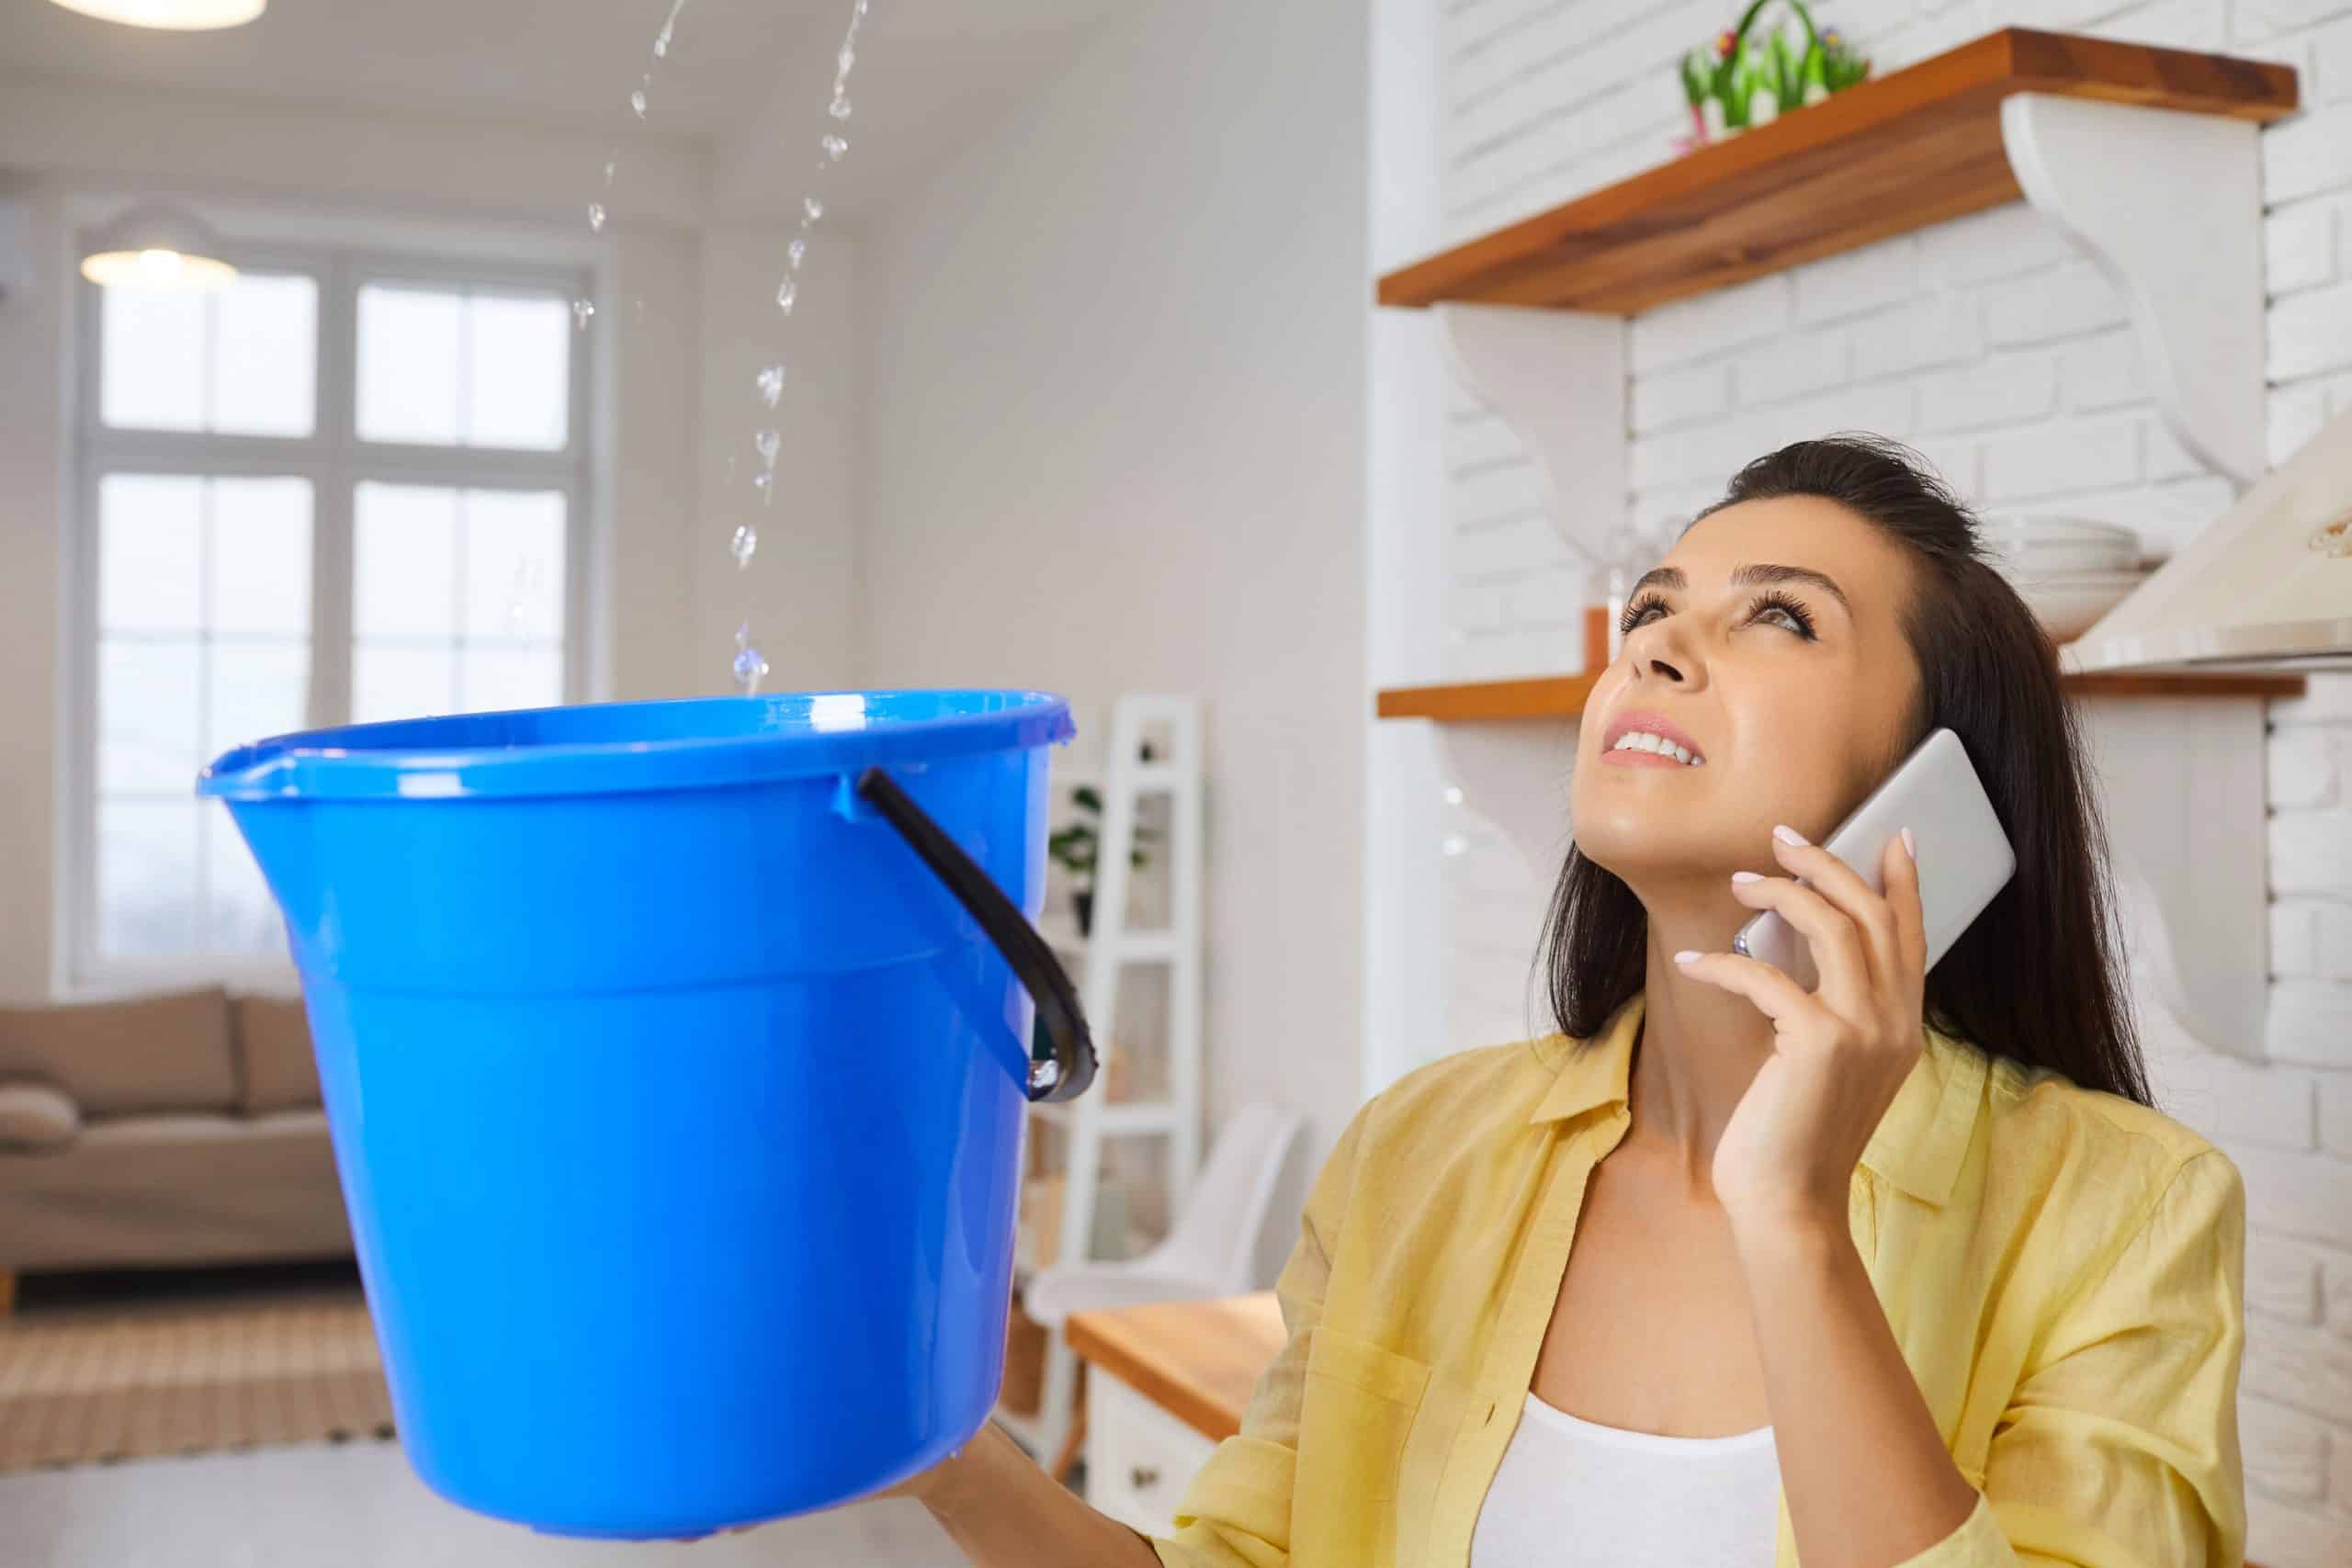
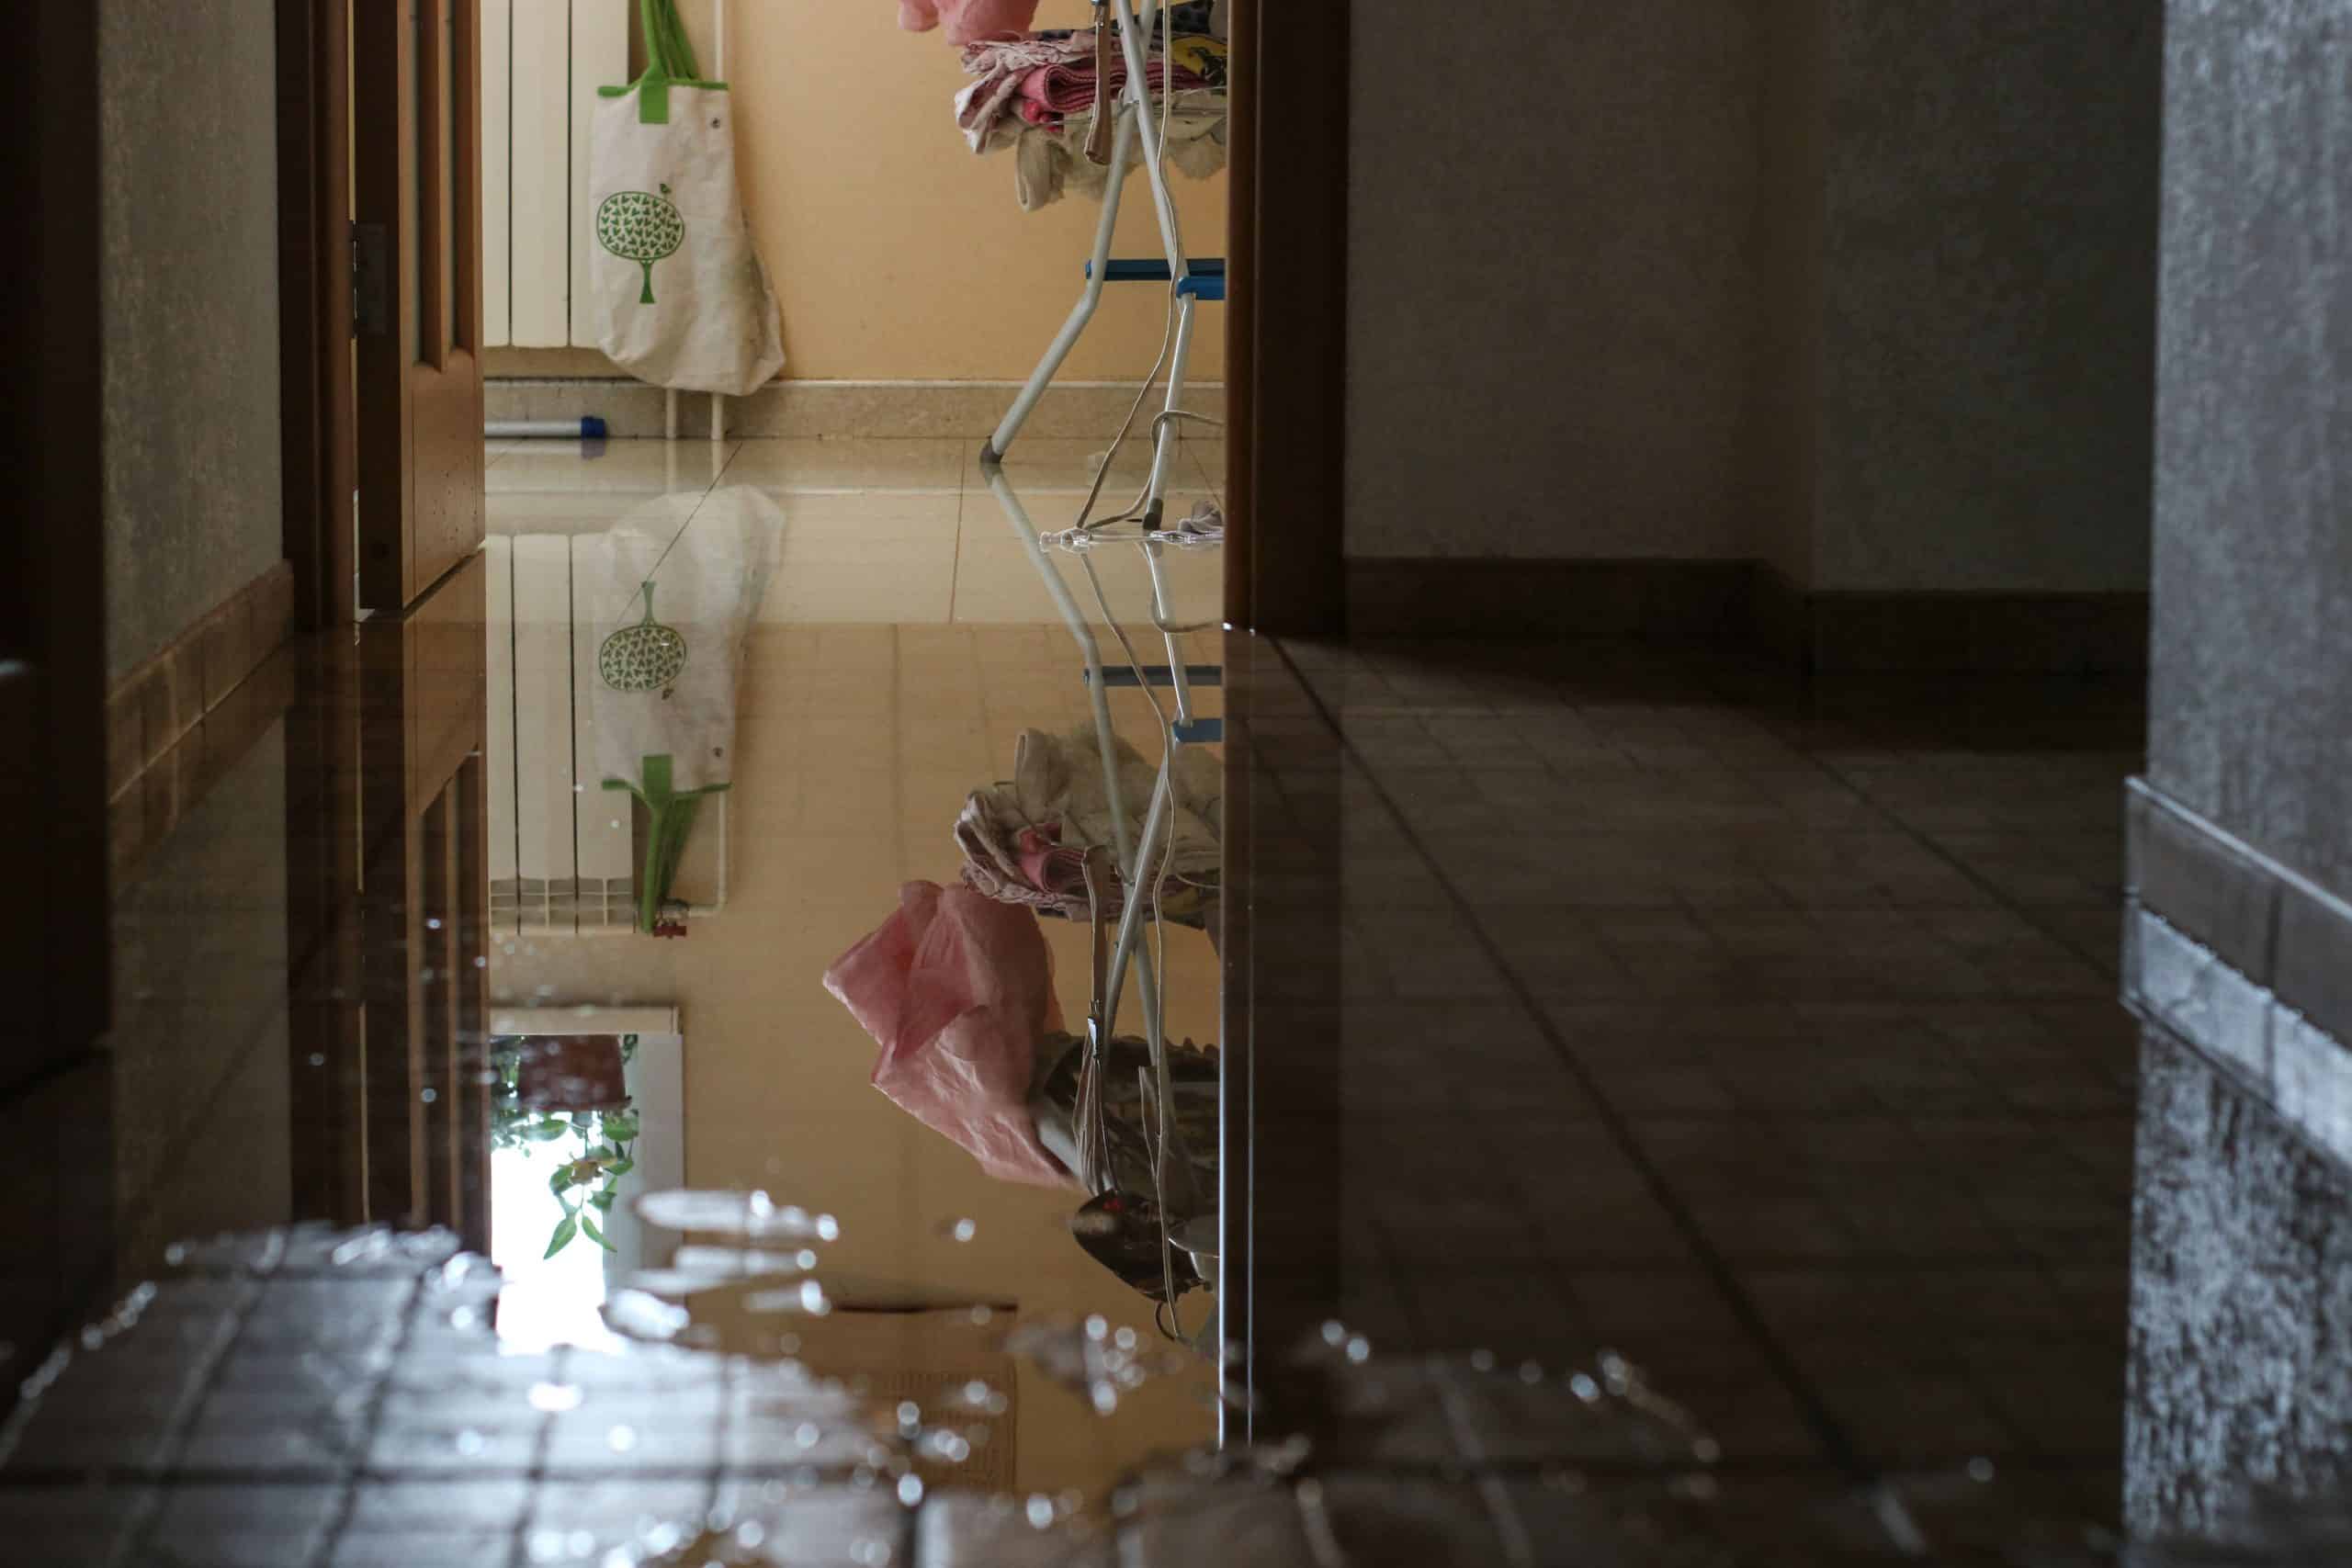
Sometimes the worst water damage starts where you can’t see it—behind walls, under floors, or in attics. Uncovering these leaks early prevents massive repair jobs and keeps your home safe. Here’s a straightforward, people-first approach to finding and fixing hidden leaks.
Look for Early Signs
Hidden leaks often show subtle clues:
- Dark spots or discoloration on walls or ceilings
- Peeling paint or bubbling wallpaper
- Musty odors in closets or basements
- Warped baseboards or buckled flooring
When you spot these, you know moisture is lurking. Acting now avoids a full structural restoration or costly water damage cleanup later.
Use Moisture Meters and Thermal Cameras
Home improvement stores rent moisture meters that read dampness levels behind drywall or under floorboards. Aim the probe against suspect areas. For larger jobs, professionals bring thermal cameras that show cool, damp spots you can’t feel or see. These tools pinpoint leaks from a water line break or slow pipe leak cleanup service needs.
Trace the Water’s Path
Water follows gravity and structural lines. Start leak searches below the most suspicious spot—if you smell mold in an upstairs bedroom, check the bathroom fixtures and toilet overflow cleanup areas above. Follow the water trail downhill, inspecting pipe runs and joints.
Inspect Common Culprits
Some areas hide leaks more often:
- Under sinks where kitchen sink overflow or bathroom sink overflow can drip unseen
- Behind dishwashers and washing machines prone to appliance leak cleanup needs
- Attic plumbing vents and shower & tub overflow sight lines
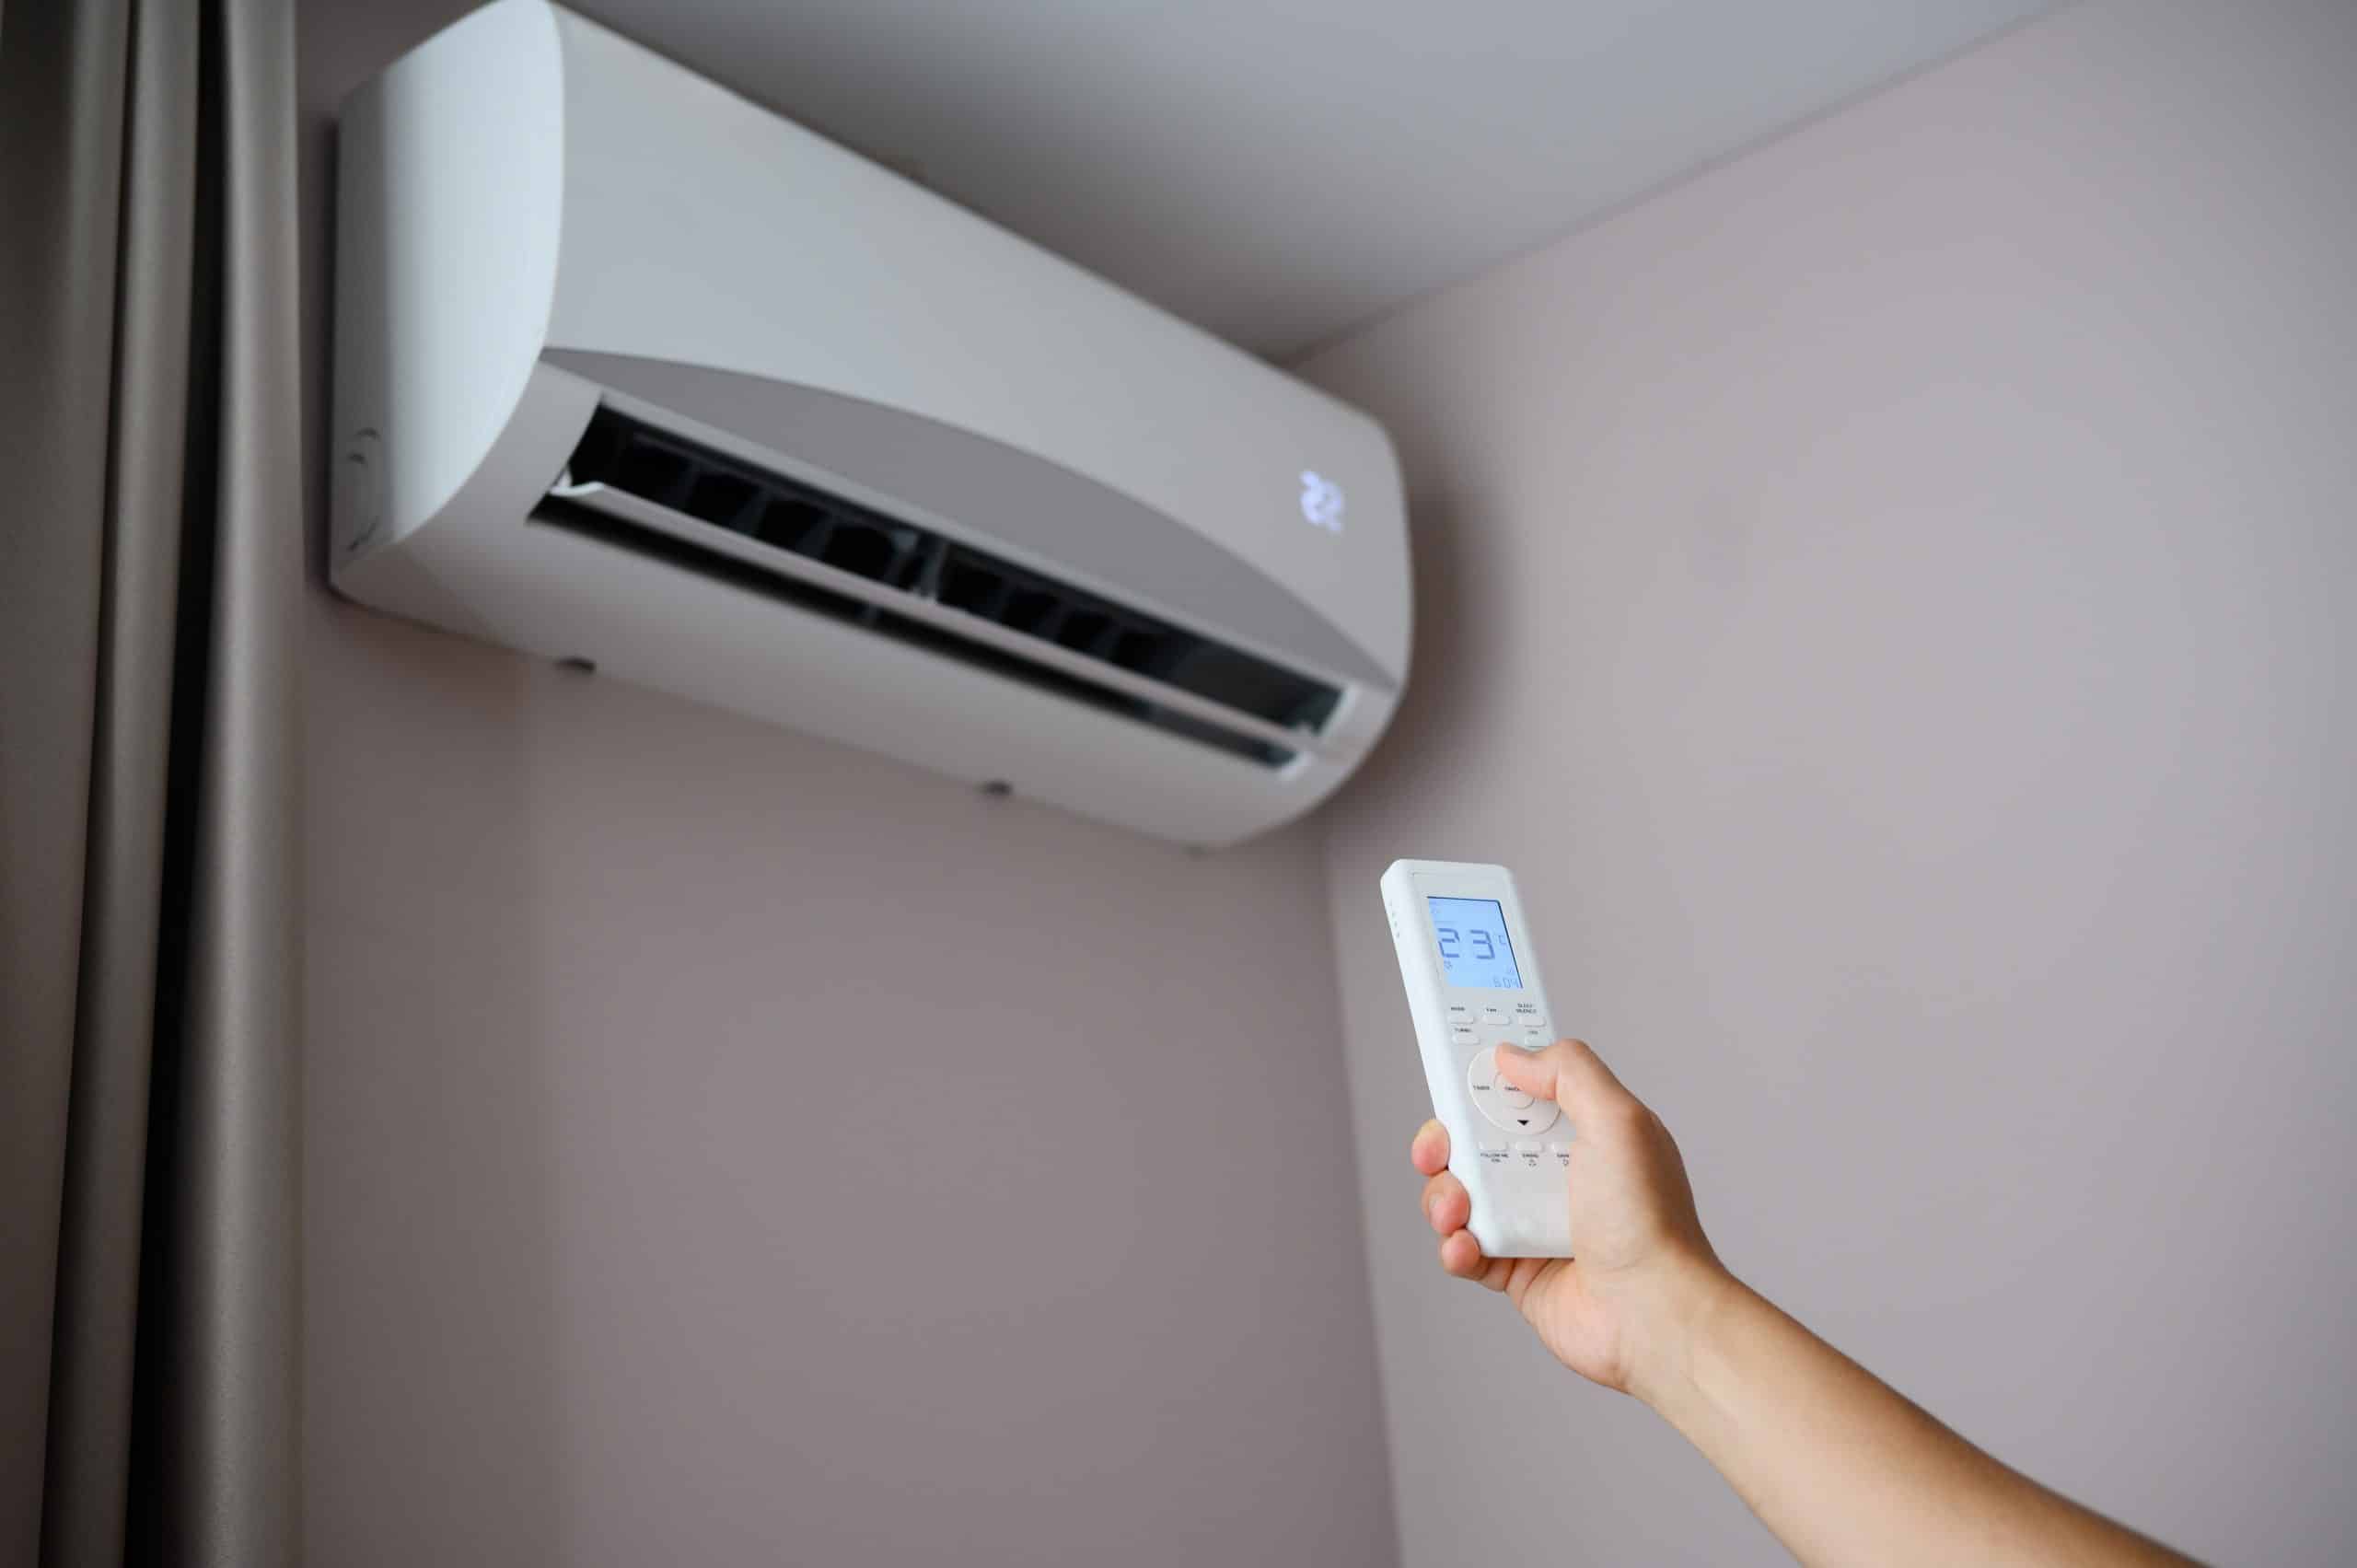
- HVAC condensate lines near the hvac discharge line repair area
Checking these spots regularly catches leaks before they soak entire wall cavities.
Remove Small Sections of Drywall
When you’ve narrowed down a leak, cut a small inspection hole—no need to gut the whole wall. Use a keyhole saw to remove a 4×4 inch square and peer inside with a flashlight. If you see dripping PEX or copper, it’s time for broken water pipe repair. Patching a small hole keeps repairs minimal.
Check Under Flooring
Lift up a corner of carpet or a single plank of vinyl or laminate flooring. Damp underlayment or swollen wood signals hidden moisture. Continue lifting planks until you find the wet section. Then call for targeted burst pipe damage cleanup before the leak spreads.
- Fix Leaks Quickly
Once found, stop leaks fast. Tighten loose fittings if you’re handy, or call a plumber for larger issues. For minor pinhole leaks, plumber’s epoxy or repair clamps can temporarily stem the flow until a permanent main water line break splice is made.
Dry and Sanitize the Area
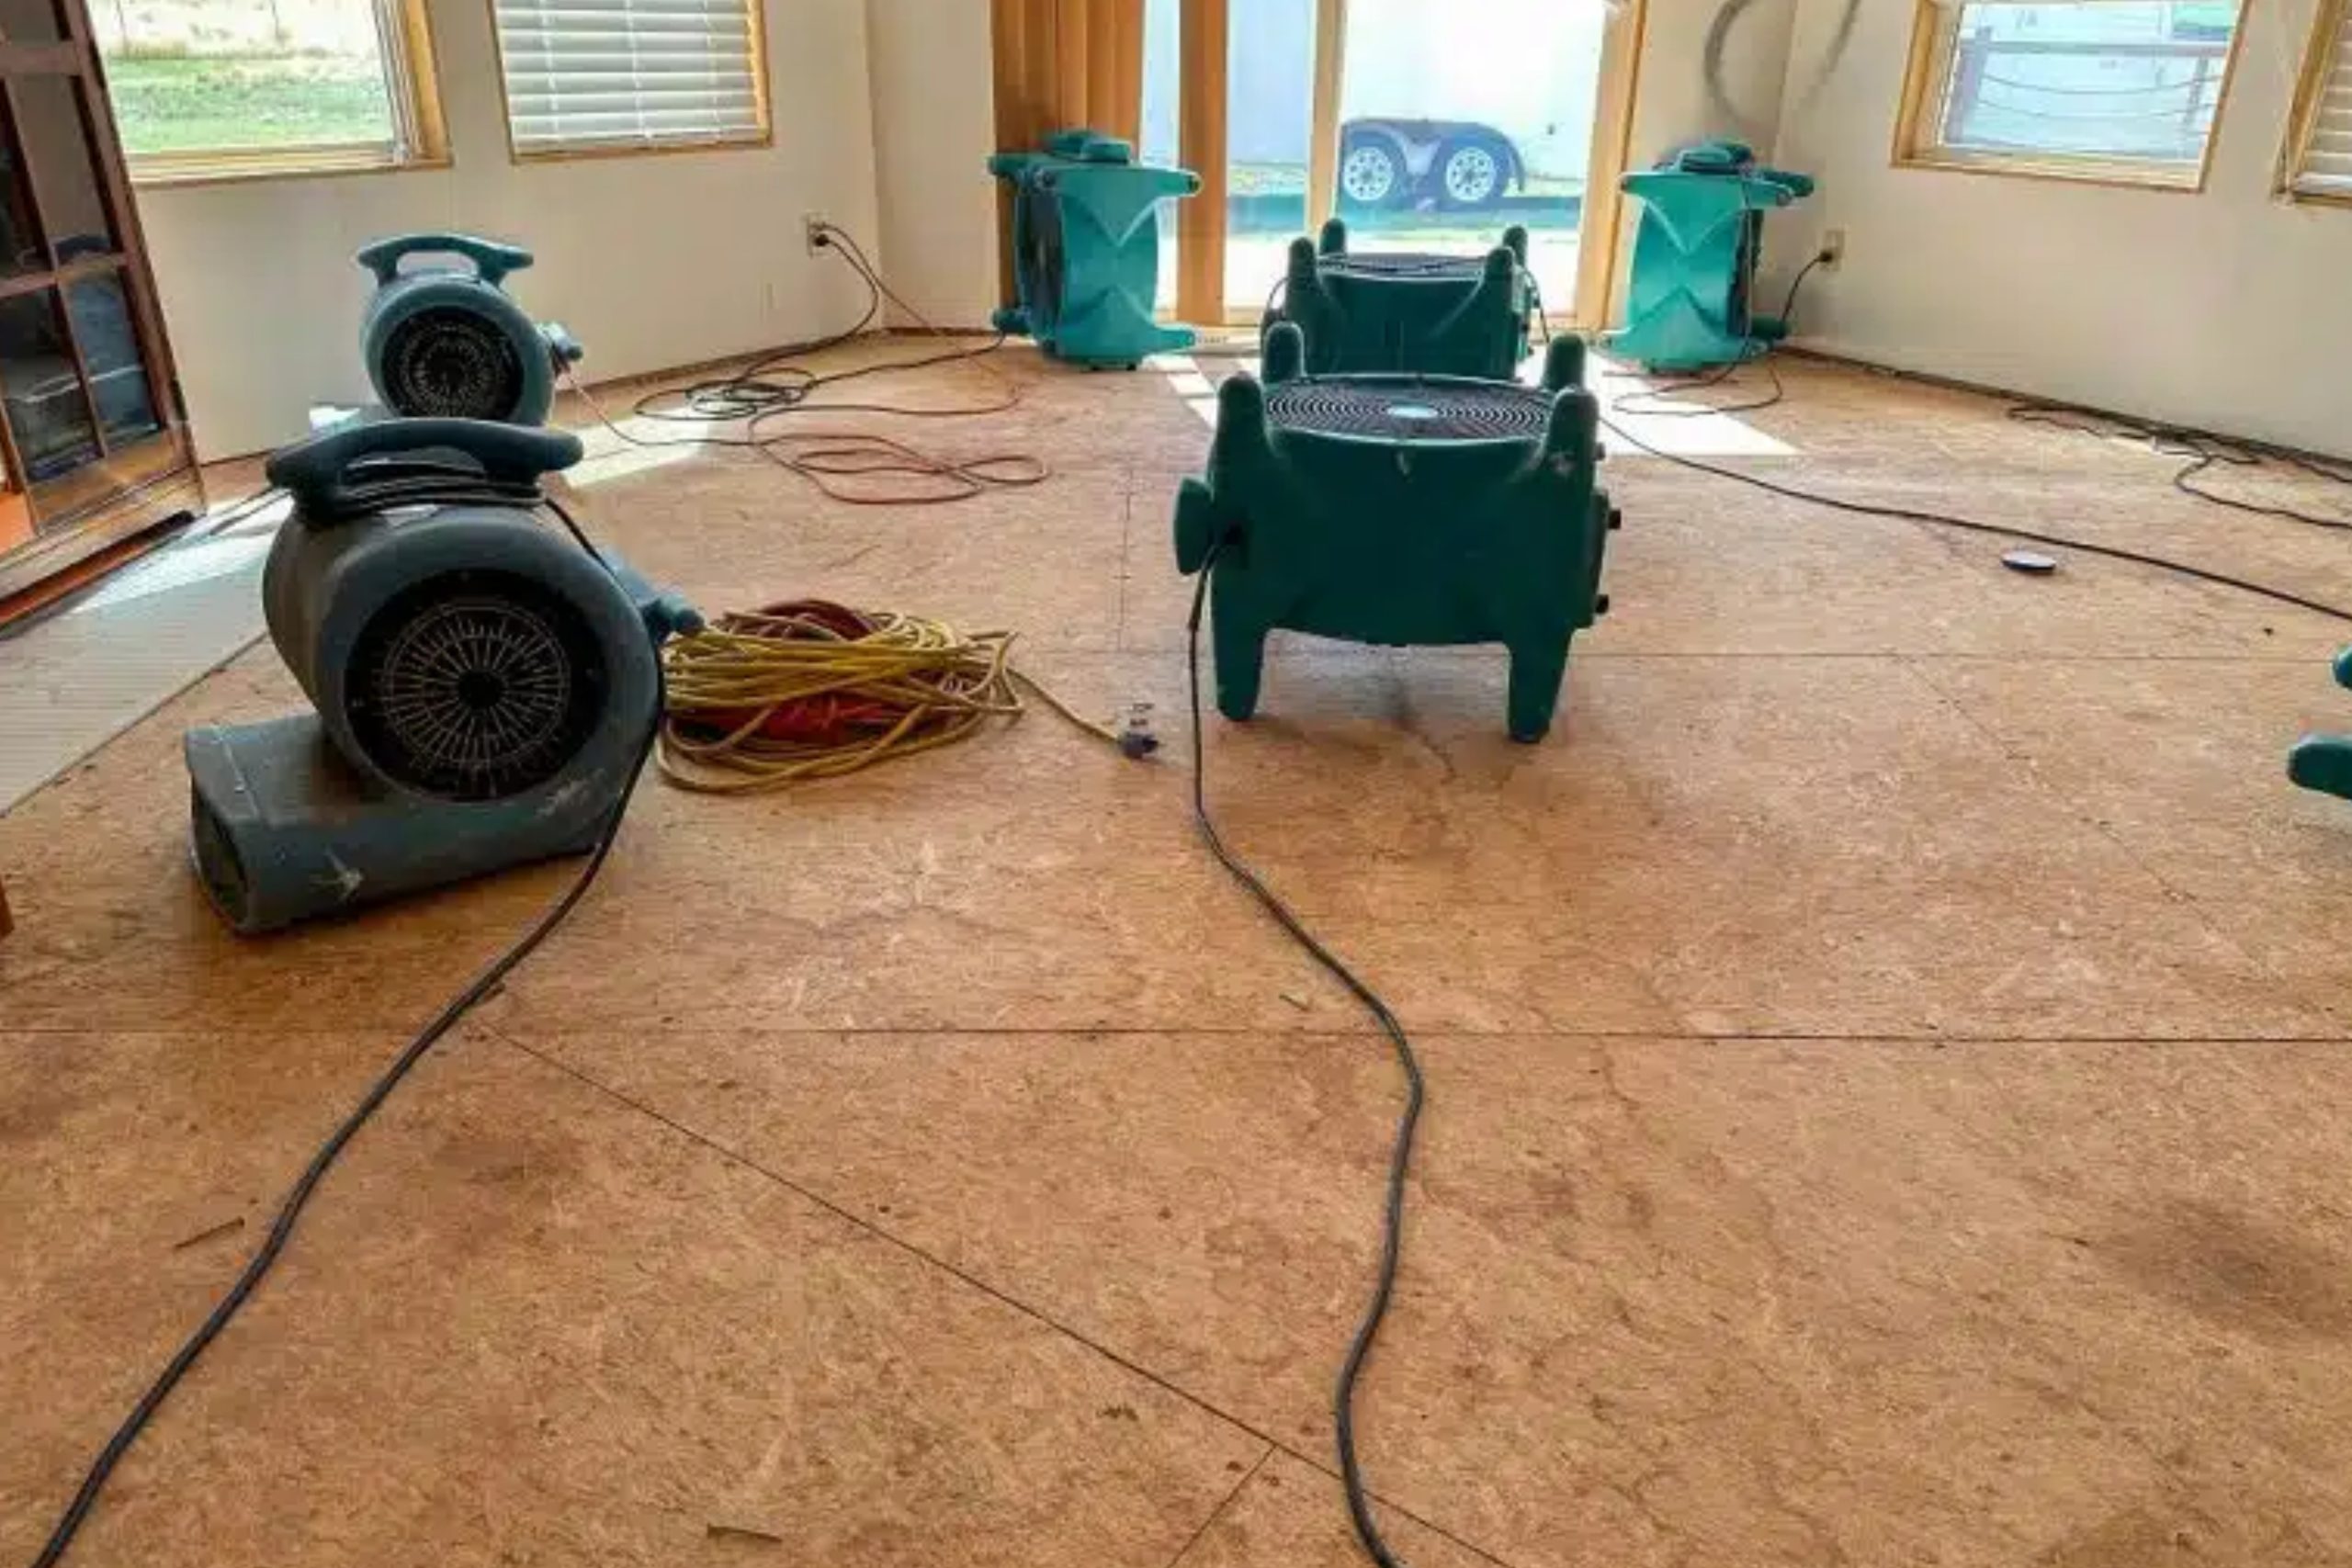
After repair, extract water using a shop vac and set fans to dry the cavity. Spray disinfectant to prevent mold—no need for full sewage removal & cleanup unless the leak involved contaminated lines. Close the inspection hole only when moisture readings hit safe levels.
Restore and Prevent
Patch drywall with mold-resistant joint compound and repaint. Consider adding moisture alarms near common leak zones to catch any future drips within minutes. Sealing grout and caulk around tubs, sinks, and vents also prevents unwanted water entry.
By watching for warning signs, using simple tools, and making small inspection cuts, you catch hidden leaks early—saving thousands on full flood damage cleanup and water damage restoration. Keep this step-by-step guide ready, and you’ll protect your home from silent water threats.
Related Posts